Can you NetBoot/NetInstall into El Capitan from Snow Leopard Server?
Mac
Server
guide
NetBoot
by Rupen ValandShort answer: Yes.
You may have an Snow Leopard Server and you run your business on it. Your client Macs may also connect to it for File Sharing, VPN, or other services that are available on this full featured server operating system.
You also want to make sure that your client Macs use up to date operating systems and you’ve made the decision to upgrade them all to El Capitan.
If you have only a few Macs then it makes sense to just use the App Store to upgrade. If you have more than a few you could create a USB key with the El Capitan installer on it and visit each Mac and upgrade them - may you want to make copied of the installer key to give to your support team so the upgrade can be done in less time.
What if you have a lot of Macs to upgrade? You could use the NetBoot/NetInstall service to make this job much easier for. Great, but you have a 10.6 Server operating system, you have no idea whether you can achieve this using a 7 year old server and you don’t want to test using your production server. Just in case things go wrong due to configuration changes you will make.
Thankfully, we at LeftBrain have tested this and we can confidently say that it works! If you want to test this yourself then read the rest of this blog post.
Tools required
- Mac running El Capitan with at least 60GB of free space (An SSD based Mac would be ideal)
- VM Ware Fusion for Mac installed
- A 10.6 Server install disk image
- NBI Creator
Create the NetBoot Image (NBI)
- Make sure that your El Capitan Mac is fully updated
- Re-download El Capitan from the App Store (Purchases tab)
- Download and install VM Ware Fusion for Mac.
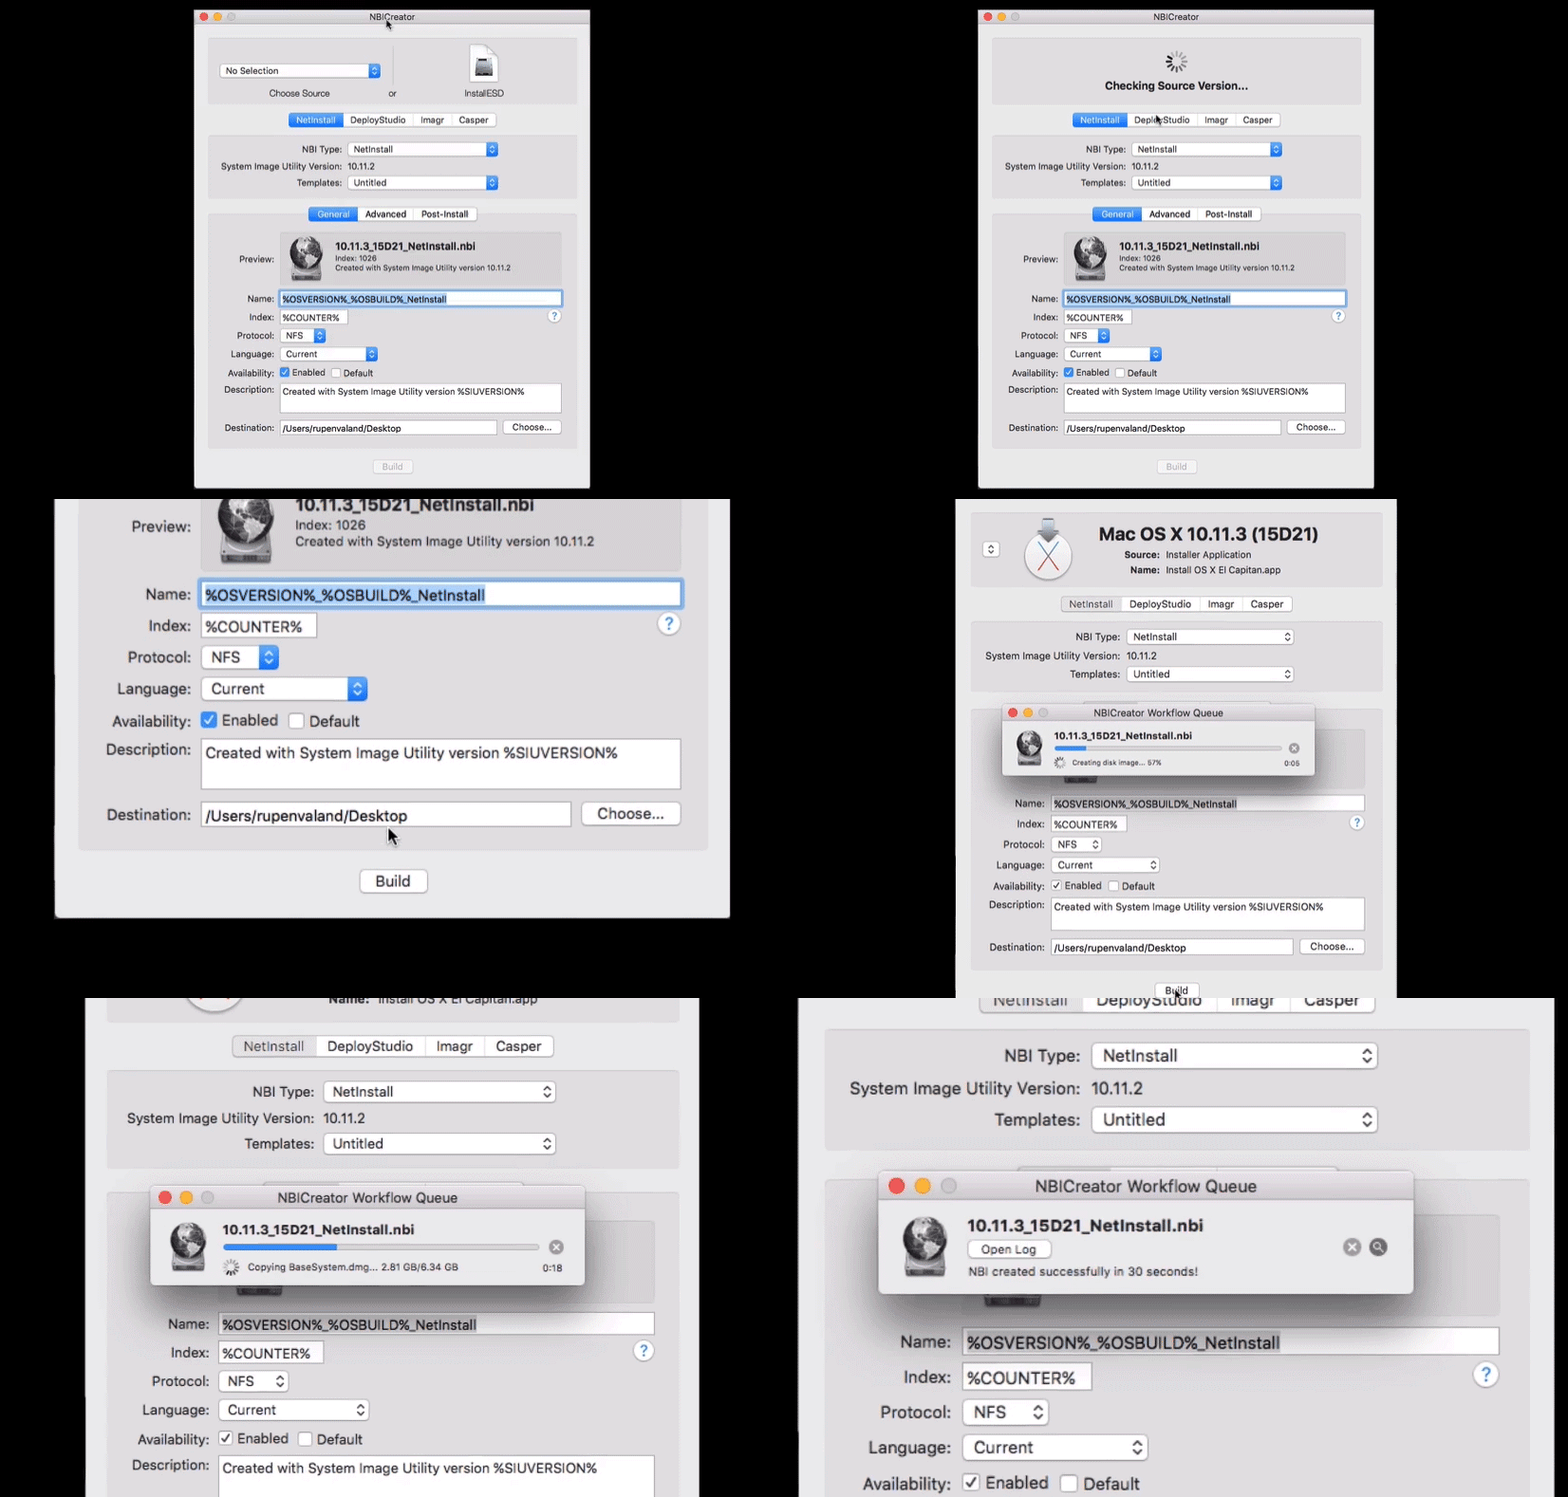
- Launch NBI Creator.
- From the “Choose Source” drop-down select El Capitan. Leave the defaults and choose Build. The resulting .nbi will be saved to your Desktop. Quit NBI Creator.

Create a 10.6 Server virtual machine using VM Ware Fusion for Mac
- Launch VM Ware Fusion, click on Add, choose New and click on Continue to Install from disc or image.
- Click on Use another disc or disc image and locate your 10.6 Server dmg
- Click Continue
- Choose Apple OS X and select Max OS X Server 10.6
- Click Continue then Finish
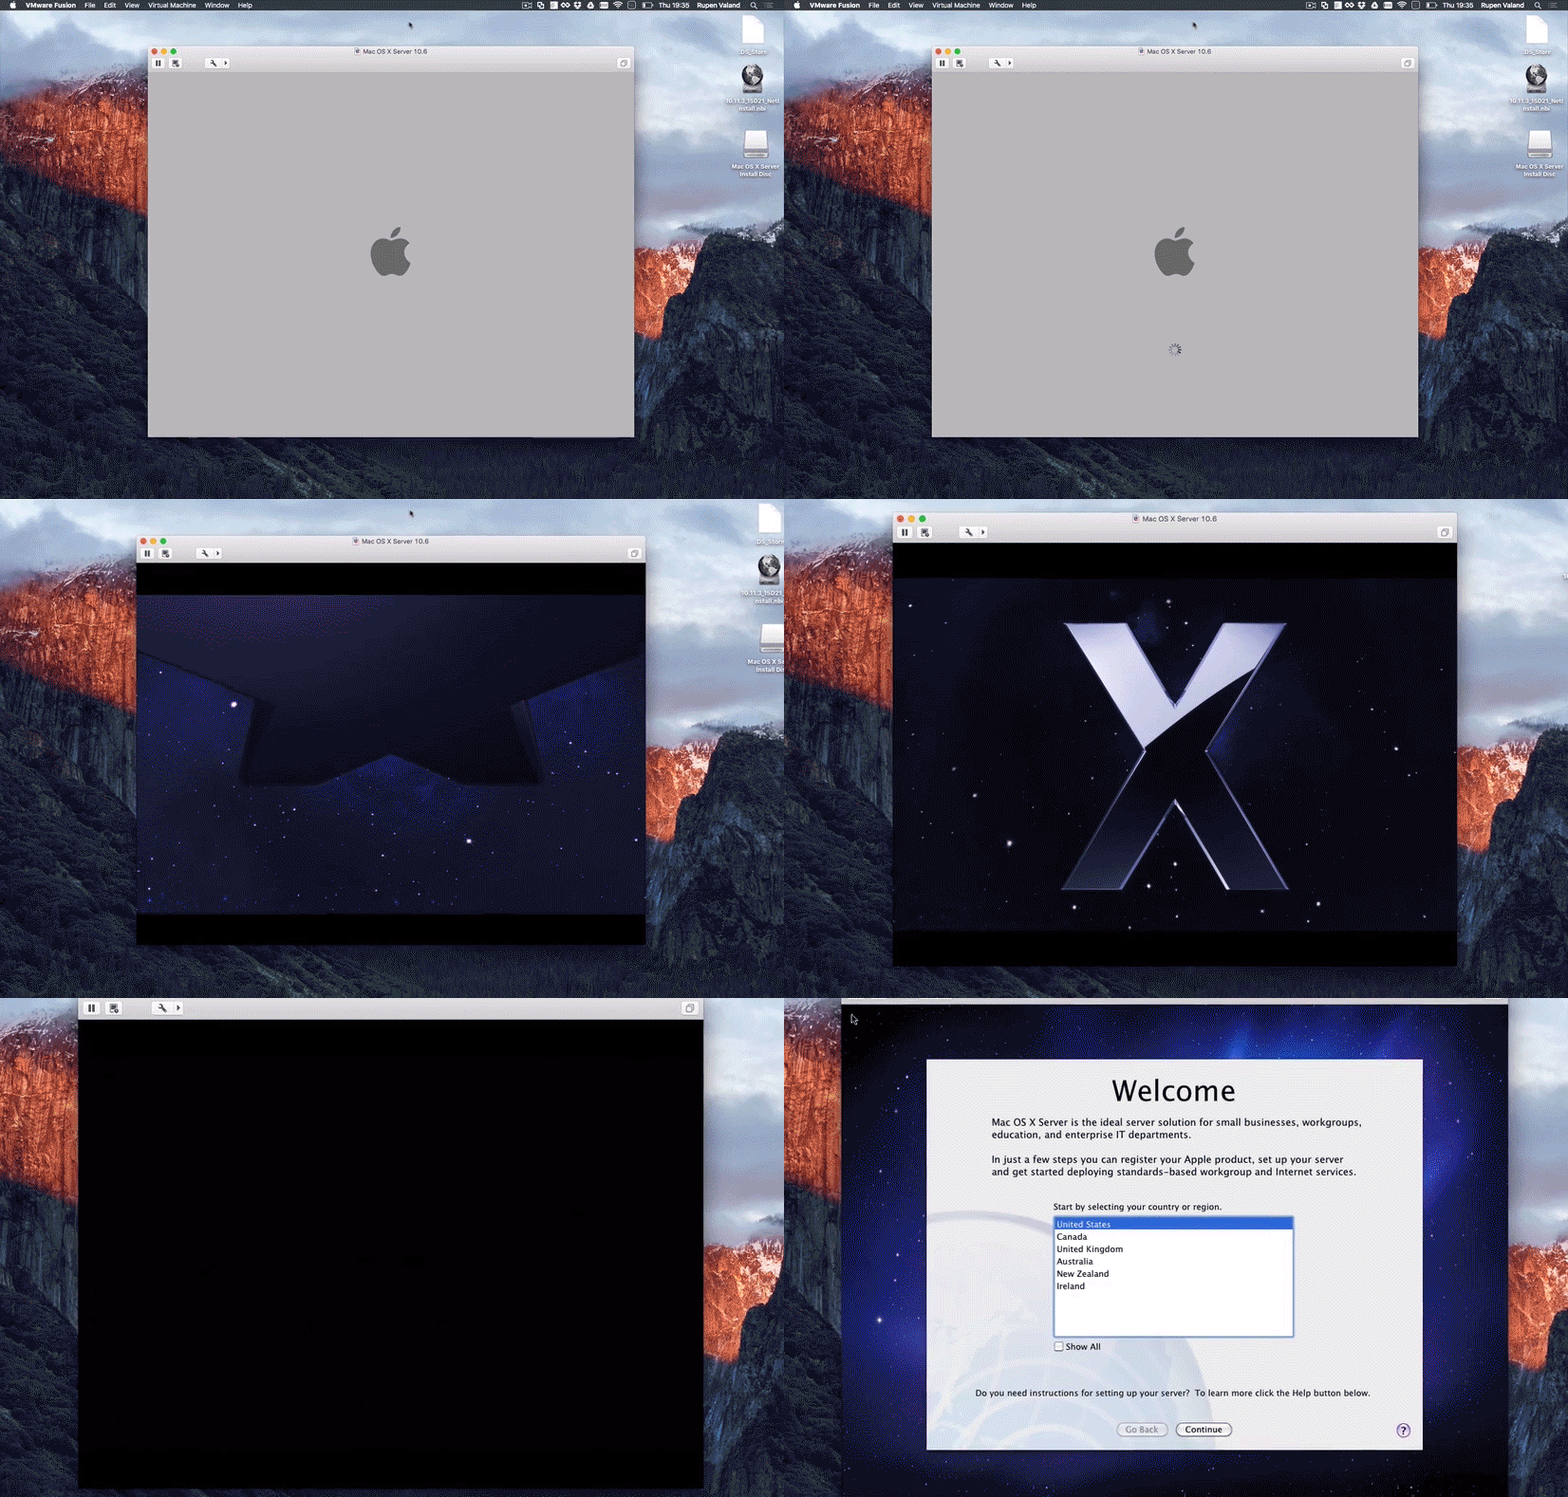
Your virtual machine will launch and Mac OS X Server 10.6 will start installing and should finish in about 10-15 mins (it will take considerable longer on a non SSD Mac). Tip: If you customise the installation you can deselect Language Translations and Printer Support to save nearly 2GB

Configure server for Netboot
Once your virtual machine reboots after installing 10.6 server, you will be able to configure it.
- Configure your new server with the defaults, leave Network settings to use DHCP and name it adding .local for the fully qualified domain name. Continue to set up Open Directory and uncheck all default offered services then complete setup.
- In Server Admin, go to Settings, Services section and Check NetBoot then Save so you can configure it
- Click to open the triangle in the Server side-bar - check to Enable NetBoot on Ethernet and check to select the images and client data on the Macintosh HD then Save. After you’ve saved you’ll notice a new folder called NetBoot in Macintosh HD/Library - the .nbi created earlier will be copied into a subfolder called NetBootSP0
Install the VM Ware tools
- From the VM Ware Fusion menu bar on your own Mac click Virtual Machine, Install VM Ware Tools
- You may need to eject the 10.6 server disc image before the VM Ware tools installation.
- Once installed restart your virtual machine.
Transferring the .nbi to the virtual machine
- From the virtual machine settings, turn on sharing and share your own Mac Desktop folder.
- From your virtual machine Desktop, double click the “VMware Shared Folders” share point, locate the previously created .nbi for El Capitan and drag it Macintosh HD/Library/NetBoot/NetBootSP0/ on your virtual machine
Netboot service final configuration
- From the virtual machine settings go to Network Adapter settings and ensure that the adapter is set to Autodetect so your virtual machine appears on the same network as your own Mac
- From Server Admin, NetBoot, click on Settings, Images. You will see the copied NetInstall image there.
- Click on the Default radio button to ensure that this is the image that networked Macs will boot into when NetBoot is invoked.
Test
As you configured the virtual machine to appear on the same network as your own Mac, you should be able to boot another Mac into NetBoot.
- Grab a spare Mac and start it up while holding down the N key. You should see the spinning globe icon to indicate that it is attempting a network boot.
- If all goes well you will end up at the familiar El Capitan installer screen.
You should now be able to upgrade your Macs to El Capitan.
Tweet
